
Step 1 of 8
- • Place the tabletop face-down on the assembly surface.
- • Use the large tabletop piece and align it with the highlighted center outline.
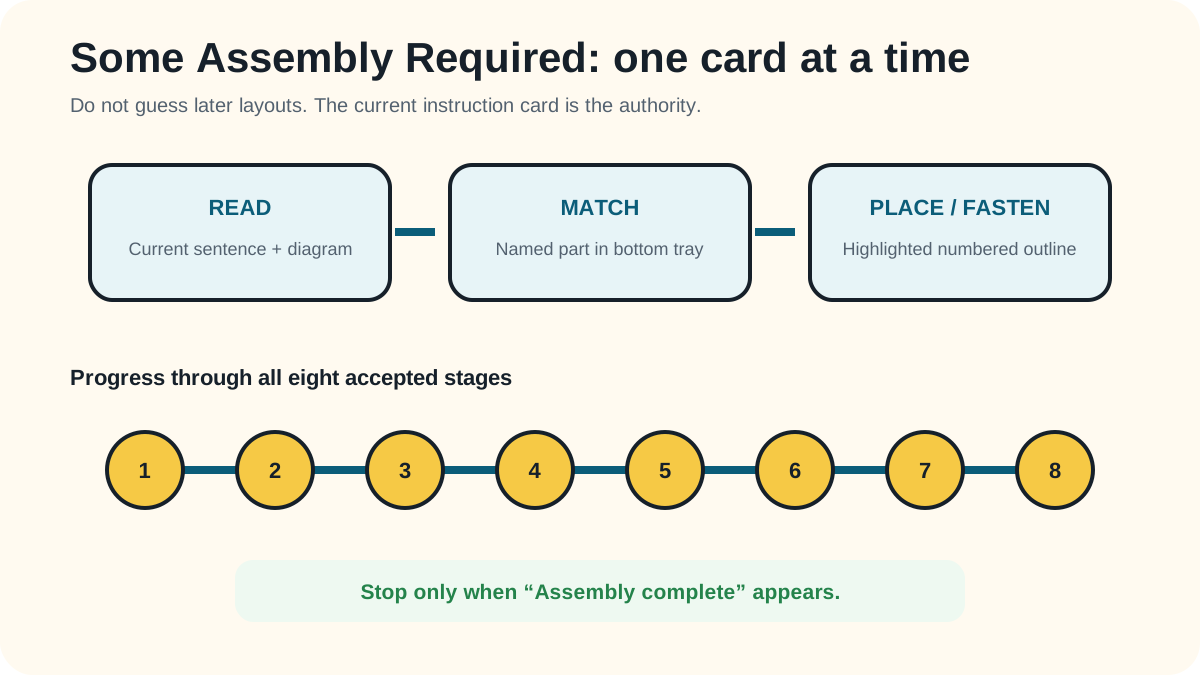
Use the active instruction card to identify the named part and its numbered target, then complete the fastening action shown before moving on. The archived record on this page preserves stages 1, 4, and 8, including the completed table. It does not preserve every intermediate diagram. This is a checkpoint guide and a read-match-place method, not an illustrated solution for all eight stages.
The recording clearly preserves steps 1, 4, and 8. The intervening parts must be read from the live instruction card; this guide does not invent the missing diagrams.
The frame shows the first leg target highlighted and the tabletop already carrying four cam fittings.
Complete all eight instruction stages in order. At each stage, identify the highlighted numbered target, select the matching labeled part from the tray, and place or fasten it as the card shows.
The general steps below explain how to use the instruction card. They do not supply missing part placements for stages 2, 3, 5, 6, or 7. Follow the displayed card for those stages rather than extrapolating from the final table.
The progress row reaches 8/8, the complete table is visible, and the page displays Assembly complete before returning to the login list.
Retry the method itself first. These failure checks stay within what the reviewed gameplay can support.
You drag a visually similar part instead of the part named by the current card.
You place a leg or fastener on the wrong numbered outline.
You move to the next stage before completing a shown cam or screw action.
You try to assemble from memory instead of following the active step.
Reviewed 2026-08-29 · action 00:36:16–00:36:32
The archive preserves step 1, step 4, the completed step 8 table, and the return to the login list. It does not preserve all intermediate actions; no Skip use was observed in the retained samples.
Reviewed 2026-08-29 · Some Assembly Required badge
The official badge identity confirms the assembly method; the gameplay recording supplies the actual interaction and success state.
The archive described on this page preserves selected assembly checkpoints and a completion state. It does not document every intermediate part placement. The September 2026 edit clarifies that coverage; it is not a new independent replay or a continuous-video verification of all eight stages.
Reviewed by: TheLoginGame.wiki Editorial Team
The archive described on this page preserves selected assembly checkpoints and a completion state. It does not document every intermediate part placement. The September 2026 edit clarifies that coverage; it is not a new independent replay or a continuous-video verification of all eight stages.
See something different in the current game? Report a correction with the page URL, game version when known, and creator-owned evidence.
Anonymous feedback helps prioritize which verified guide needs another replay check.
The reviewed puzzle has eight stages. The progress row fills from 1/8 through 8/8.
No. Read the active card, part label, and numbered target because the guide does not prove that tray coordinates are fixed.
All eight progress markers are filled, the assembled table is shown, and the page says Assembly complete.